A Deep Dive into the Delicious World of Ayam Goreng: A Comprehensive Guide
Learn the secrets to perfecting A Deep Dive into the Delicious World of Ayam Goreng: A Comprehensive Guide in your kitchen
Related Recipes
- A Journey Into The World Of Gravadlax: From Ancient Origins To Modern Marvels
- A Journey Into The Delicious World Of Lebanese Shawarma: From Ancient Roots To Modern Flavors
- The Crunchy Delight: An In-Depth Exploration Of Tostones
- Kolak: A Sweet Symphony Of Indonesian Flavors
- A Journey Through The Sweetness Of Crema Catalana: From Humble Origins To Modern Delights
Ingredients, Prep, Preparation Tips
A Deep Dive into the Delicious World of Ayam Goreng: A Comprehensive Guide

Ayam goreng, meaning "fried chicken" in Indonesian, is a beloved dish across Southeast Asia. This iconic dish is a staple at family gatherings, street food stalls, and restaurants alike. But beyond its popularity lies a world of flavor, texture, and culinary artistry waiting to be explored. This comprehensive guide will take you on a journey into the heart of ayam goreng, revealing its secrets and empowering you to create your own delicious versions.
The Allure of Ayam Goreng: A Culinary Journey
Ayam goreng isn’t just a dish; it’s an experience. Its crispy, golden-brown exterior gives way to succulent, juicy chicken, bursting with aromatic spices. The flavors are complex and layered, a harmonious blend of sweet, savory, and spicy notes. This symphony of taste is what makes ayam goreng so irresistible, appealing to both novice and seasoned palates.
Cooking Instructions
Ingredients: The Foundation of Flavor
The magic of ayam goreng lies in its carefully chosen ingredients. While recipes can vary, the core components remain consistent:
1. The Star: Chicken
The foundation of any good ayam goreng is high-quality chicken. You can use whole chickens, chicken pieces, or even chicken drumsticks or thighs. The key is to choose fresh, plump chicken with good marbling for optimal flavor and tenderness.
2. The Marinade: A Symphony of Spices
Visual Guide & Steps
The marinade is the heart and soul of ayam goreng, imparting its signature flavors. Here’s a breakdown of the key ingredients:
- Turmeric: This vibrant yellow spice adds a warm, earthy flavor and a beautiful golden hue to the chicken.
- Ginger: A pungent and aromatic spice, ginger adds a touch of heat and complexity to the marinade.
- Garlic: A staple in Asian cuisine, garlic brings a pungent aroma and enhances the overall savory notes of the dish.
- Soy Sauce: This salty condiment adds depth of flavor and helps to tenderize the chicken.
- Lemongrass: This fragrant herb imparts a citrusy, slightly grassy aroma and adds a refreshing touch to the marinade.
- Chillies: For a fiery kick, you can add chili peppers, either fresh or dried, depending on your desired spice level.
- Salt and Pepper: These essential seasonings balance the flavors and enhance the overall taste profile.
- Other Spices: Depending on the region and personal preference, other spices like coriander, cumin, or star anise can be added to the marinade.
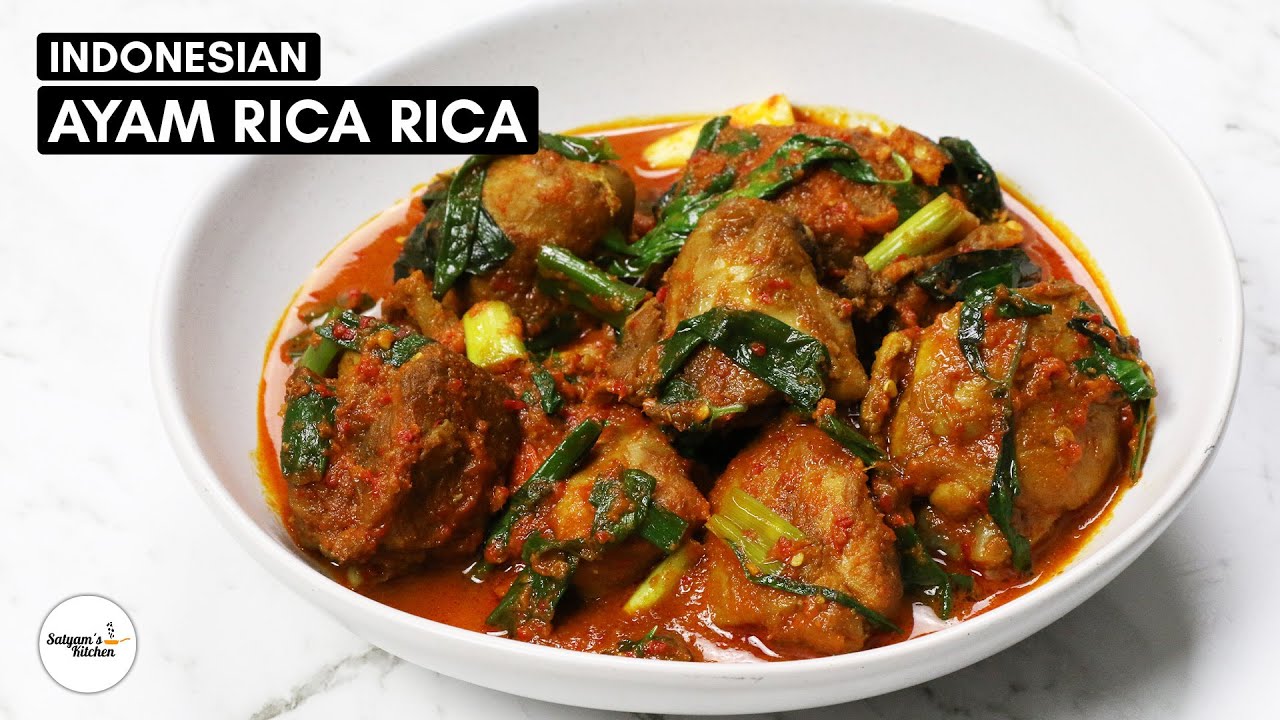
![[Detailed step image for TITLE]](https://www.cookeatworld.com/wp-content/uploads/2023/06/Ayam-Goreng-3-600x903.jpg)
Expert Tips & Variations
Recipe Variations
3. The Batter: A Crispy Coating
The batter is what creates the iconic crispy exterior of ayam goreng. Common ingredients include:
- Flour: Provides structure and a light, crispy texture.
- Rice Flour: Adds a slightly chewy texture and enhances the crispy coating.
- Cornstarch: Contributes to the crispiness and helps the batter adhere to the chicken.
- Eggs: Bind the batter together and help it adhere to the chicken.
- Water: Used to adjust the consistency of the batter.
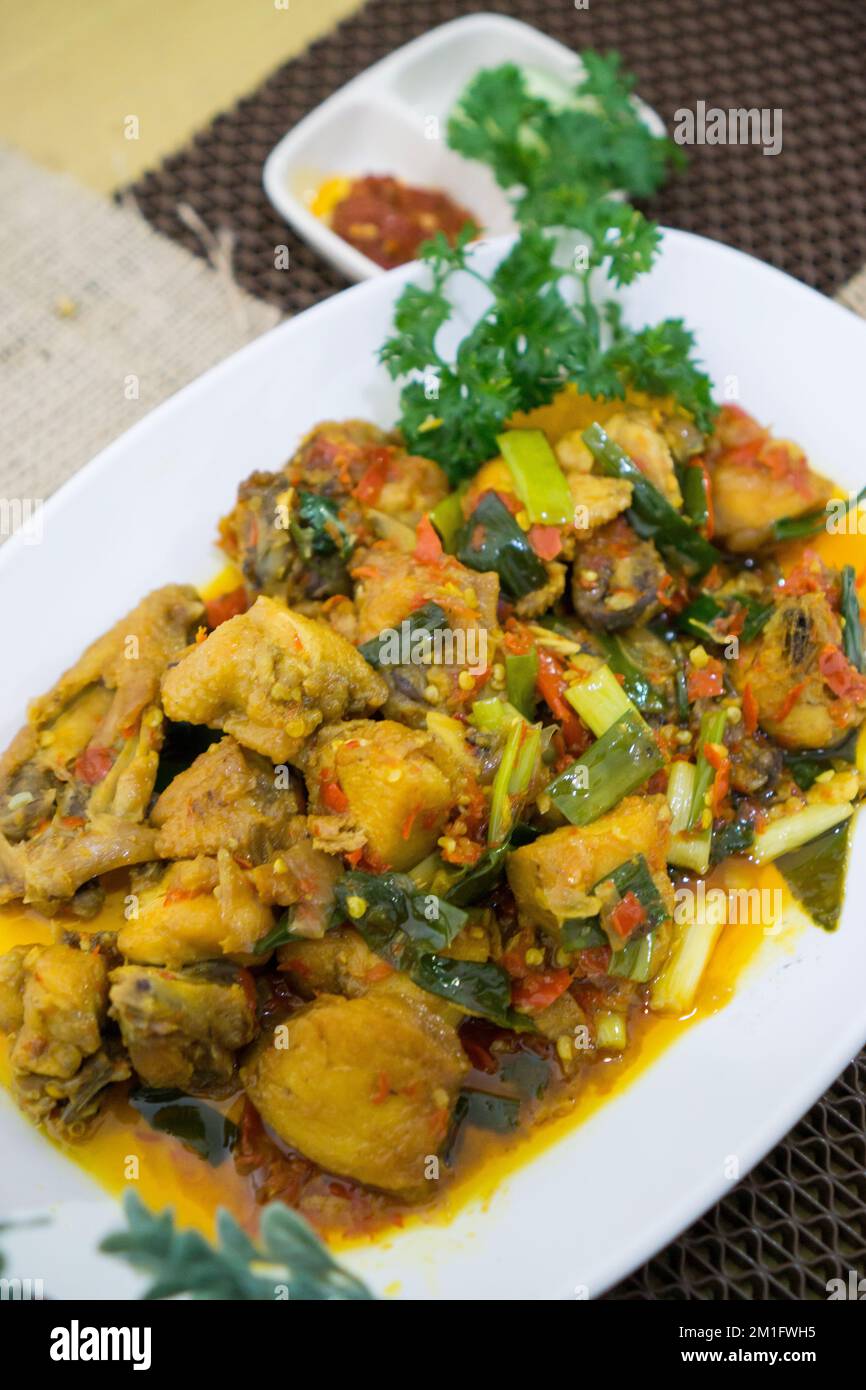
![[Additional presentation of TITLE]](https://img-global.cpcdn.com/recipes/97e6c6ce7510991b/751x532cq70/ayam-goreng-resipi-foto-utama.jpg)
Nutrition & Serving Suggestions
4. The Oil: The Golden Touch
Serving Tips
The choice of oil plays a crucial role in achieving that perfect golden-brown color and crispy texture. High-heat oils like vegetable oil, peanut oil, or canola oil are ideal for frying ayam goreng.
Preparation Advice: Mastering the Art of Ayam Goreng
Preparing ayam goreng is a straightforward process, but there are a few key tips to ensure success:
- Marination Time: Marinate the chicken for at least 2 hours, or ideally overnight, to allow the flavors to penetrate deeply.
- Temperature Control: Make sure the chicken is at room temperature before frying to ensure even cooking.
- Batter Consistency: The batter should be thick enough to coat the chicken evenly but not too thick, which can make it heavy and greasy.
- Deep Frying Technique: Use a deep fryer or a large, heavy-bottomed pot for deep frying. Ensure the oil is hot enough before adding the chicken to prevent it from becoming soggy.
- Resting Time: Allow the fried chicken to rest on a wire rack for a few minutes to drain excess oil and achieve a crispy texture.
Cooking Instructions: A Step-by-Step Guide
Now, let’s dive into the cooking process:
1. Prepare the Chicken:
- Wash and pat dry the chicken pieces.
- Cut the chicken into desired sizes, depending on your preference.
- Score the chicken skin to allow the marinade to penetrate deeper and prevent curling during frying.
2. Create the Marinade:
- In a large bowl, combine all the marinade ingredients, whisking well until smooth.
- Add the chicken pieces to the marinade and ensure they are fully coated.
- Cover the bowl and refrigerate for at least 2 hours, or ideally overnight.
3. Prepare the Batter:
- In a separate bowl, whisk together the flour, rice flour, cornstarch, and salt.
- Gradually add water, whisking continuously until you achieve a smooth, thick batter.
- Add the beaten eggs and whisk until combined.
4. Deep Fry the Chicken:
- Heat the oil in a deep fryer or heavy-bottomed pot to 350°F (175°C).
- Carefully dip each chicken piece into the batter, ensuring it is fully coated.
- Gently lower the coated chicken pieces into the hot oil, avoiding overcrowding the pot.
- Fry the chicken for about 6-8 minutes per side, or until golden brown and cooked through.
- Use a slotted spoon to carefully remove the chicken from the oil and place it on a wire rack to drain excess oil.
5. Serve and Enjoy:
- Once the chicken has cooled slightly, serve it hot with your favorite dipping sauces, such as sambal, sweet soy sauce, or chili sauce.
- Enjoy your delicious ayam goreng!
Step-by-Step Visual Guide: A Picture is Worth a Thousand Words
To make the process even clearer, here’s a visual guide with step-by-step images:
(Insert step-by-step images here)
Professional Advice: Tips from the Experts
Here are some professional tips from experienced chefs and culinary experts:
- Temperature is Key: Maintaining the correct oil temperature is crucial for achieving a crispy exterior and tender interior. Use a thermometer to ensure the oil is consistently hot enough.
- Don’t Overcrowd the Pan: Adding too much chicken to the oil at once will lower the temperature and result in soggy chicken. Fry the chicken in batches to maintain the oil temperature.
- Resting is Essential: Allow the fried chicken to rest on a wire rack for a few minutes to drain excess oil and allow the crust to crisp up further.
- Experiment with Spices: Don’t be afraid to experiment with different spices and herbs to create your own unique flavor profile.
- Sauce It Up: Ayam goreng is best enjoyed with dipping sauces. Explore different options like sambal, sweet soy sauce, chili sauce, or even a simple lime and ginger dipping sauce.
Recipe Variations: Exploring the World of Ayam Goreng
Ayam goreng isn’t just one recipe; it’s a culinary canvas for endless variations. Here are some popular variations to explore:
- Ayam Goreng Bumbu Rujak: This variation features a marinade infused with a blend of sweet, sour, and spicy flavors, often using ingredients like tamarind, palm sugar, and chili peppers.
- Ayam Goreng Serundeng: This dish features a crispy, savory coating of serundeng, a grated coconut and spice mixture.
- Ayam Goreng Lengkuas: This variation incorporates fragrant galangal (lengkuas) into the marinade, adding a unique, earthy flavor.
- Ayam Goreng Ketumbar: This version emphasizes the use of coriander in the marinade, creating a distinctly aromatic and flavorful dish.
- Ayam Goreng Kecap: This variation uses a sweet soy sauce (kecap manis) marinade, resulting in a rich and savory flavor profile.
Nutrition & Serving Ideas: A Balanced and Delicious Meal
Ayam goreng is a delicious and satisfying dish, but it’s important to consider its nutritional value and serving options.
- Nutritional Value: Ayam goreng is a good source of protein, but it’s also high in fat due to the deep frying process. To make it a healthier option, you can bake or air fry the chicken instead.
- Serving Ideas: Ayam goreng is traditionally served with rice, but you can also enjoy it with other side dishes, such as:
- Vegetables: Steamed greens, stir-fried vegetables, or a simple salad.
- Salads: A fresh and refreshing salad with a tangy dressing.
- Noodles: Indonesian-style noodles like mie goreng or bihun goreng.
- Soup: A light and flavorful soup to balance the richness of the fried chicken.
Serving Advice: Presenting Your Culinary Masterpiece
When serving ayam goreng, presentation is key. Here are some tips to elevate your dish:
- Plating: Use a visually appealing plate or platter to showcase the golden-brown chicken.
- Garnish: Add a sprinkle of fresh herbs like cilantro or parsley for a touch of freshness.
- Sauce: Serve the dipping sauce in a small bowl or ramekin, allowing guests to customize their experience.
- Ambiance: Create a warm and inviting ambiance to enhance the dining experience.
Conclusion: A Culinary Adventure Awaits
Ayam goreng is more than just a dish; it’s a culinary adventure that takes you on a journey through Southeast Asian flavors. By following this comprehensive guide, you can unlock the secrets of this iconic dish and create your own delicious versions at home. Experiment with different variations, explore different sauces, and embrace the art of ayam goreng. Let your culinary creativity flourish and enjoy the delicious results!
Conclusion
Thank you for exploring A Deep Dive into the Delicious World of Ayam Goreng: A Comprehensive Guide with us! We hope this guide brought you new insights and inspiration for your cooking journey. Share your thoughts in the comments below or try out another recipe for further culinary exploration!